

Table of Contents
In today’s fast-paced business environment, field service management software plays a crucial role in ensuring smooth operations for businesses that rely on a mobile workforce. One of the essential components of such software is route optimization, which involves finding the most efficient paths for service technicians to travel between multiple service locations. By minimizing travel time, reducing costs, and enhancing customer satisfaction, efficient routing has become a vital aspect of field service management.
Field service businesses often encounter several challenges in managing multiple service requests and scheduling routes, including:
- Complex Scheduling: Coordinating numerous service requests while considering factors such as technician availability, skills, and service priorities.
- Dynamic Changes: Handling unforeseen changes, such as cancellations, rescheduling, or emergency service calls, and adapting schedules accordingly.
- Travel Efficiency: Ensuring technicians take the most optimized routes to minimize travel time, fuel consumption, and vehicle wear and tear.
- Resource Allocation: Efficiently assigning technicians and resources based on location, expertise, and availability to meet service demands.
- Customer Expectations: Meeting customer expectations by providing prompt and reliable service, accurate arrival time estimates and minimal waiting times.
Route optimization plays a crucial role in addressing the challenges faced by field service businesses. NextBillion.ai’s Route Optimization API stands out as an efficient tool designed to address the Multi or Single Vehicle Routing Problem (VRP). This classic optimization problem in operations research involves determining the optimal routes for a fleet of vehicles to visit a set of locations while considering constraints such as time windows, capacity and vehicle availability.
Features and Capabilities of the Route Optimization API
The Route Optimization API from NextBillion.ai comprise two main components: the input data and the optimization engine.
The input data consists of vital information such as job details (stops/places to visit), vehicle specifications (delivery trucks, vans, etc.), and shipments (pickup and delivery tasks). The optimization engine utilizes this data to generate the most efficient set of routes for the vehicles.
The API offers two key components for integration:
- Optimization Post: This method allows users to submit the necessary input data for the VRP. By providing information about jobs, vehicles, and shipments, businesses can initiate the optimization process and set the foundation for generating efficient routes.
- Optimization GET: With this method, users can retrieve the status of a submitted VRP using a unique reference ID. It enables businesses to monitor the progress of route optimization, ensuring transparency and control throughout the process.
With the Route Optimization API, businesses can streamline their delivery processes, save time and reduce costs. The API’s advanced capabilities allow for the handling of complex constraints and variables, including capacity, time windows, and vehicle availability. This flexibility empowers businesses to customize the API to their specific requirements, ensuring optimized routes tailored to their unique operational needs.
Step-by-Step Integration of NextBillion.ai’s Route Optimization API
Integrating NextBillion.ai’s Route Optimization API into a ReactJS application enables businesses to harness the power of advanced route optimization algorithms. In this section, we will provide step-by-step instructions for integrating the API into a ReactJS application, discuss API endpoints, authentication and explain how to make API calls to optimize routes based on service requests and generate optimized schedules.
Explore NextBillion.ai’s Route Optimization API
Prerequisites
Creating a ReactJS Field Service Management (FSM) software and integrating the Route Optimization API requires a few prerequisites to ensure a smooth development process. Assuming that you have Node.js installed for local development. Here are the key prerequisites:
- Knowledge of ReactJS: Familiarity with ReactJS is essential. You should have a solid understanding of React components, JSX syntax and state management. ReactJS docs are a great way to start.
- JavaScript Proficiency: A strong foundation in JavaScript is crucial as ReactJS is a JavaScript library. Ensure you have a good grasp of core JavaScript concepts, such as variables, functions, arrays, objects, and asynchronous operations (promises, async/await).
- API Key and Access: Obtain an API key from NextBillion.ai by signing up on our website. The API key is necessary for authentication and authorization to access the Route Optimization API.
- Understanding of RESTful APIs: Familiarize yourself with the concepts of RESTful APIs, HTTP methods (GET, POST, etc.), request/response formats (JSON or XML), and API authentication (using API keys or tokens).
Setup
Set up a ReactJS project for Field Service management software with the NextBillion.ai Maps SDK. The NextBillion.ai Maps SDK is designed to help you integrate interactive maps into your React application. Here’s a step-by-step guide to get you started:
Set up a ReactJS project for Field Service management software with the NextBillion.ai Maps SDK. The NextBillion.ai Maps SDK is designed to help you integrate interactive maps into your React application. Here’s a step-by-step guide to get you started:
1. Create a ReactJS Project: If you don’t already have a ReactJS project set up, you can create one using Create React App (CRA). Open your terminal and run the following commands:
npx create-react-app field-service-management
cd field-service-management
2. Install NextBillion.ai Maps SDK: You’ll need to install the NextBillion.ai Maps SDK package in your project. You can do this via npm or yarn. First, navigate to your project’s root directory and run:
npm install @nbai/nbmap-glOr
yarn add @nbai/nbmap-gl
3. Add API Key to your Project: Next, you’ll need to add your API key to your React project. Create a new file in the src folder (if not already present) called `config.js`. In this file, add the following code:
// src/config.js
const config = {
  apiKey: 'YOUR_API_KEY_HERE',
};

export default config;
Replace ‘YOUR_API_KEY_HERE’ with your actual API key.
4. Create an `index.css` file under the `src` folder with the following code:
*,*::after,*::before{
  margin: 0;
  padding: 0;
}

#root {
  font-family: Inter, system-ui, Avenir, Helvetica, Arial, sans-serif;
  line-height: 1.5;
  min-height: 100vh;
  background-color: white;
  font-weight: 400;
  color-scheme: light dark;
}
Import Axios Library
Install the Axios library, a popular HTTP client for making API requests, by running the command:
npm install axios
Configure API Endpoints and Authentication
Set up the API endpoints for the Optimization POST and Optimization GET methods. Use the provided URL patterns and include your API key in the request URL for authentication.
To configure API endpoints and authentication in a ReactJS application, you can use the following steps:
- Create a new ReactJS project.
- Install the `axios` package.
- Create an `src/api` folder.
- Create a `src/api/index.js` file.
- In the `index.js` file, import the `axios` package and create a new instance of the `Axios` object.
- In the `index.js` file, add the following code to configure the API endpoints and authentication:
    import axios from 'axios';
import config from '../config';
const api = axios.create({
 baseURL: "https://api.nextbillion.io/optimization/v2",
 headers: {
   Authorization: "Bearer " + config.apiKey,
 },
});
export default api;
- In the `src/App.js` file, import the `api` object from the `src/api/index.js` file.
- In the `src/App.js` file, use the `api` object to make API requests.
For example, the following code makes a GET request to the `/optimization/v2/result` endpoint:
    const response = await api.get(
  "https://api.nextbillion.io/optimization/v2/result?id={id}&key="+ config.apiKey
);
- Run the ReactJS application. You can now use the `api` object to make API requests to the NextBillion.ai API.
Make an Optimization POST Request
Create a function in your ReactJS application to make an API call using the Axios library. Set the request method to POST and include the necessary request payload, such as vehicle details, job or shipment information, and optimization options. Upon successful submission, the API will respond with a unique task ID.
- Import the axios library into your ReactJS application.
- Create a function called `createTask` that accepts a payload as an argument. The payload should include the following information: Vehicle details, Job or shipment information, pickup and delivery locations, optimization options and other custom data.
- In the `createTask` function, use the Axios library to make a POST request to the API endpoint. The request body should be the payload that was passed to the function.
- The API will respond with a unique task ID. Return the task ID from the `createTask` function.
Here is an example of how you could implement the `createTask` function in ReactJS:
    import axios from "axios";
import config from '../config';
const createTask = (payload) => {
  const url = "https://api.nextbillion.io/optimization/v2?" + config.apiKey;
  return axios.post(url, payload);
};
For this tutorial, we created a `data.js` file under `src` folder with the following static payload. The payload can be updated as per the use case.
// for demo purpose
//static payload for creating optimization task
export const payload = {
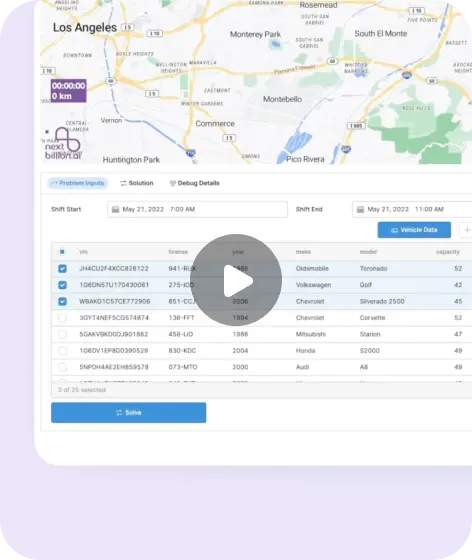
"description": "Los Angeles Sample Optimization",
"locations": {
"id": 2,
"location": ["34.06675919,-118.30620984", "34.04268850,-118.28191077", "34.03434239,-118.28358834", "34.04238041,-118.23817754", "34.08431954,-118.25597762", "34.06892275,-118.29156827", "34.01103011,-118.19238067", "34.08659806,-118.17526366", "34.06624918,-118.11066669", "34.05221370,-118.28427087"]
},
"jobs": [
{
"id": 8,
"location_index": 0,
"service": 300,
"pickup": [
1
],
"time_windows": [
[
1688112000,
1688119200
]
]
},
{
"id": 9,
"location_index": 1,
"service": 300,
"pickup": [
1
],
"time_windows": [
[
1688112000,
1688119200
]
]
},
{
"id": 100,
"location_index": 3,
"service": 300,
"pickup": [
1
],
"time_windows": [
[
1688119200,
1688122800
]
]
},
{
"id": 18,
"location_index": 6,
"service": 300,
"delivery": [
1
],
"time_windows": [
[
1688126400,
1688130000
]
]
},
{
"id": 28,
"location_index": 7,
"service": 300,
"delivery": [
1
],
"time_windows": [
[
1688126400,
1688137200
]
]
},
{
"id": 38,
"location_index": 4,
"service": 300,
"delivery": [
1
],
"time_windows": [
[
1688126400,
1688137200
]
]
}
],
"vehicles": [
{
"id": 1,
"start_index": 8,
"end_index": 8,
"capacity": [
46
],
"time_window": [
1688110200,
1688140800
],
"skills": [2, 3]
}, {
"id": 2,
"start_index": 9,
"end_index": 9,
"capacity": [
46
],
"time_window": [
1688110200,
1688146200
]
}
],
"shipments": [
{
"pickup": {
"id": 1,
"service": 300,
"location_index": 2,
"time_windows": [[1688122800, 1688126400]]
},
"delivery": {
"id": 1,
"service": 300,
"location_index": 5,
"time_windows": [[1688126400, 1688130000]]
},
"amount": [5],
"skills": [2],
"priority": 100
}
]
}
Retrieve the Optimized Solution with Optimization GET
Implement another function to retrieve the optimized solution using the Optimization GET method. Construct the request URL by appending the task ID received in the previous step and include your API key. Perform a GET request to fetch the optimized solution for the submitted optimization task.
- Import the axios library into your ReactJS application.
- Create a function called `getOptimizedSolution` that accepts a task ID as an argument.
- In the `getOptimizedSolution` function, construct the request URL by appending the task ID to the API endpoint.
- Include your API key in the request header.
- Make a GET request to the API endpoint.
- The API will respond with the optimized solution for the submitted optimization task.
Here is an example of how you could implement the `getOptimizedSolution` function in ReactJS:
    //  retrieve the optimized solution for the optimization task using request id
//  polling request every 5 secs to check if the optimization task is completed

  export const getOptimizedSolution = (requestId) => {
    const url = `https://api.nextbillion.io/optimization/v2/result?id=${requestId}&key=${config.apiKey}`;
    const headers = {
      Authorization: `Bearer ${config.apiKey}`,
    };
    return new Promise((resolve, reject) => {
    let retryTimer = 0
      const loadResult = () => {
        axios
          .get(url, {
            headers,
            params: {
              key: config.apiKey,
              id: requestId,
            },
          })
          .then((res) => {
            const data = res.data
            if (data.status !== "Ok" || data.result.code !== 0) {
              retryTimer = setTimeout(() => {
                loadResult()
              }, 1000)
              return
            }
            const result = data
            resolve(result)
          })
          .catch((e) => {
            reject(e)
          })
      }
      loadResult()
    })
  };
Handle the Response
Once the API responds to the Optimization GET request, extract the optimized route information from the response. This may include details such as optimized routes, distance, duration, and other relevant data.
- Once the API responds to the Optimization GET request, the response body will contain the optimized route information.
- The optimized route information will include details such as optimized routes, distance, duration, and other relevant data.
- You can access the individual properties of the object to get the information you need.
Here is an example of how you could extract the optimized route information from the response in ReactJS:
    const response = await getOptimizedSolution(id);
const optimizedRoute = response.data;
const routes = optimizedRoute.result.routes;
const distance = optimizedRoute.result.summary.distance;
const duration = optimizedRoute.result.summary.duration;
Displaying Optimized Routes on Map
Once the optimized routes are fetched, we can display the routes on the map with the following code samples below.
1. Create a file named `use-map.js` under the `src` folder having the following code sample. This will render results on the map component of the application.
    import { useCallback, useEffect, useState } from "react";
import "@nbai/nbmap-gl/dist/nextbillion.css";
import nextbillion, { NBMap, utils } from "@nbai/nbmap-gl";
import { DEFAULT_SOURCES_CONFIG, MAP_LAYERS } from "./map-config";
import { getLocations } from "./utils";

// add source on map load

const initSource = (nbMap) => {
  DEFAULT_SOURCES_CONFIG.forEach((config) => {
    nbMap?.map.addSource(config.name, config.data);
  });
};


// add layers on map load
const initLayers = (nbmap) => {
  MAP_LAYERS.forEach((layerConfig) => {
    nbmap?.map.addLayer(layerConfig);
  });
};


// create map object for map view
export const useMap = ({ element, apiKey }) => {
  const [nbMap, setNBMap] = useState(null);

  useEffect(() => {
    if (!element?.current || !apiKey) return;
    nextbillion.setApiKey(apiKey);
    const mapObj = new NBMap({
      container: element.current,
      zoom: 12,
      style: "https://api.nextbillion.io/maps/streets/style.json",
      center: { lat: 34.08572, lng: -118.324569 },
    });
    mapObj.on("load", () => {
      setNBMap(mapObj);
      initSource(mapObj);
      initLayers(mapObj);
    });
  }, [element.current, apiKey]);
  return { nbMap };
};


// inserts empty geojson feature for the map layers
export function useInputSources(data) {
  const [sources, setSources] = useState([]);
  const [error, setError] = useState(null);

  const updateSources = useCallback(() => {
    if (!data) {
      return;
    }
    const rawData = data;
    const locations = getLocations(rawData.locations?.location) || undefined;
    const vehicles = rawData.vehicles;
    const shipments = rawData.shipments;
    const vehicleSourceData = {
      type: "FeatureCollection",
      features: [],
    };
    const shipmentSourceData = {
      type: "FeatureCollection",
      features: [],
    };

    if (vehicles) {
      vehicleSourceData.features = vehicles.flatMap((vehicle) => {
        const start = {
          type: "Feature",
          geometry: {
            type: "Point",
            coordinates:
              vehicle.startLocation || locations[vehicle.start_index],
          },
          properties: {
            id: vehicle.id,
            type: "vehicle-start",
            capacity: vehicle.capacity,
            breaks: vehicle.breaks,
            maxTasks: vehicle.max_tasks,
            skills: vehicle.skills,
            timeWindow: vehicle.time_window,
            description: vehicle.description,
          },
        };
        if (vehicle.endLocation || vehicle.end_index) {
          const end = Object.assign({}, start);
          end.properties = Object.assign({}, end.properties, {
            type: "vehicle-destination",
          });
          end.geometry.coordinates =
            vehicle.endLocation || locations[vehicle.end_index];
          return [start, end];
        }
        return [start];
      });
    }

    if (shipments) {
      shipmentSourceData.features = shipments.flatMap((shipment) => {
        const pickup = {
          type: "Feature",
          geometry: {
            type: "Point",
            coordinates:
              shipment.startLocation ||
              locations[shipment.pickup.location_index],
          },
          properties: {
            type: "shipment-pickup",
            id: shipment.pickup.id,
            service: shipment.pickup.service,
            timeWindows: shipment.pickup.time_windows,
            priority: shipment.priority,
            skills: shipment.skills,
            amount: shipment.amount,
            shipment: shipment.description,
          },
        };
        const delivery = Object.assign({}, pickup);
        delivery.properties = Object.assign({}, pickup.properties, {
          type: "shipment-delivery",
        });
        delivery.geometry.coordinates =
          shipment.endLocation || locations[shipment.delivery.location_index];
        return [pickup, delivery];
      });
    }

    setSources([
      {
        name: "shipments",
        data: shipmentSourceData,
      },
      {
        name: "vehicles",
        data: vehicleSourceData,
      },
    ]);
  }, [data]);

  useEffect(() => {
    try {
      updateSources();
    } catch (e) {
      setError(e);
    }
  }, [data, updateSources]);
  return { sources, error };
}

// inserts  geojson into map layers
export function useResultSources(resData) {
  const [resSources, setResSources] = useState([]);
  const [error, setError] = useState(null);

  const updateSources = useCallback(() => {
    if (!resData) {
      return;
    }
    const data = resData;
    const rawData = data;
    const sources = [];
    const features = [];
    const setpFeatures = [];
    if (!rawData?.routes) return;
    rawData?.routes &&
      rawData?.routes.forEach((route, index) => {
        // @ts-ignore

        const themeColor = index % 2 == 0 ? '#F08D0B' : "#7EC832";
        if (route.geometry) {
          const routeData = {
            type: "Feature",
            geometry: {
              type: "LineString",
              coordinates: utils.polyline
                .decode(route.geometry, 5)
                .map((c) => c.reverse()),
            },
            properties: {
              type: "res-route",
              color: themeColor,
              cost: route.cost,
              index,
              distance: route.distance,
              duration: route.duration,
              priority: route.priority,
              service: route.service,
              setup: route.setup,
              // @ts-ignore
              waitingTime: route.waiting_time,
              // @ts-ignore
              id: route.vehicle,
              stepsNum: route.steps?.length || 0,
              description: route.description ? route.description : null,
            },
          };
          features.push(routeData);
        }

        route.steps?.forEach((step, si) => {
          if (!step.location) {
            return;
          }
          setpFeatures.push({
            type: "Feature",
            geometry: {
              type: "Point",
              coordinates: step.location?.concat().reverse(),
            },
            properties: {
              type: "res-step",
              stepType: step.type,
              color: themeColor,
              index: si,
              setup: step.setup,
              service: step.service,
              waitingTime: step.waiting_time,
              arrival: step.arrival,
              duration: step.duration,
              // @ts-ignore
              id: step.id || "N/A",
              // @ts-ignore
              description: step.description ? step.description : null,
              vehicle: route.vehicle,
              // @ts-ignore
              timewindows: step.timewindows,
            },
          });
        });
      });
    const routesData = {
      name: "res-routes",
      data: {
        type: "FeatureCollection",
        features: features || [],
      },
    };
    const routeStepsData = {
      name: "res-routes-steps",
      data: {
        type: "FeatureCollection",
        features: setpFeatures || [],
      },
    };

    sources.push(routesData);
    sources.push(routeStepsData);

    const unassginedFeatures = rawData.unassigned?.map(
      (unassignedItem, index) => {
        const unassignedData = {
          type: "Feature",
          geometry: {
            type: "Point",
            coordinates: unassignedItem.location?.concat().reverse(),
          },
          properties: {
            index,
            id: unassignedItem.id,
            description: unassignedItem.description
              ? unassignedItem.description
              : null,
          },
        };
        return unassignedData;
      }
    );

    const unassignedsData = {
      name: "res-unassigned-tasks",
      data: {
        type: "FeatureCollection",
        features: unassginedFeatures || [],
      },
    };

    sources.push(unassignedsData);

    setResSources(sources);
  }, [resData]);

  useEffect(() => {
    try {
      updateSources();
    } catch (e) {
      console.error("generate features error:", e);
      setError(e);
    }
  }, [resData, updateSources]);

  return { sources: resSources, error };
}
2. Create a `map-config.js` file `src` folder having the following code sample. This code file defines configurations for map layers and sources that will be used in the application.
    // different zoom
const BREAKPOINT_ZOOM_1 = 11
const BREAKPOINT_ZOOM_2 = 6
const BREAKPOINT_ZOOM_3 = 3.1


// map layer
export const MAP_LAYERS = [
  {
    id: "res-routes-outfit",
    type: "line",
    source: "res-routes",
    layout: {
      "line-join": "round",
      "line-cap": "round",
    },
    paint: {
      'line-color': ['get', 'color'],
      'line-width': [
        'interpolate',
        ['linear'],
        ['zoom'],
        BREAKPOINT_ZOOM_2-1, 0,
        BREAKPOINT_ZOOM_2-0.1, 0,
        BREAKPOINT_ZOOM_2, 2,
        BREAKPOINT_ZOOM_1-0.1, 3,
        BREAKPOINT_ZOOM_1, 8,
      ],
    },
    minzoom: BREAKPOINT_ZOOM_3
  },
  {
    id: "res-routes",
    type: "line",
    source: "res-routes",
    layout: {
      "line-join": "round",
      "line-cap": "round",
    },
    paint: {
      "line-color": "#FFF",
      "line-width": 2,
    },
    minzoom: BREAKPOINT_ZOOM_1
  },
  {
    id: "res-step-bg",
    type: "circle",
    source: "res-routes-steps",
    paint: {
      'circle-color': ['get', 'color'],
      'circle-radius': [
        "interpolate", ["linear"], ["zoom"],
        BREAKPOINT_ZOOM_2, 6,
        BREAKPOINT_ZOOM_1 - 1, 3,
        BREAKPOINT_ZOOM_1 - 0.1, 5,
        BREAKPOINT_ZOOM_1, 10,

      ],
    },
    minzoom: BREAKPOINT_ZOOM_2,
  },


  {
    id: "res-step-number",
    type: "symbol",
    source: "res-routes-steps",
    layout: {
      'text-field': ['get', 'index'],
      'text-size': 10,
      'text-ignore-placement': true,
    },
    paint: {
      'text-color': '#FFFFFF',
    },
    minzoom: BREAKPOINT_ZOOM_1
  },
  {
    id: "res-step-bg-active",
    type: "circle",
    filter: false,
    source: "res-routes-steps",
    paint: {
      'circle-color': ['get', 'color'],
      'circle-radius': 14,
    },
    minzoom: BREAKPOINT_ZOOM_1
  },
  {
    id: "res-step-number-active",
    type: "symbol",
    filter: false,
    source: "res-routes-steps",
    layout: {
      'text-field': ['get', 'index'],
      'text-size': 14,
      'text-ignore-placement': true,
    },
    paint: {
      'text-color': '#FFFFFF',
    },
    minzoom: BREAKPOINT_ZOOM_1
  },
  {
    id: "unassigned-tasks",
    type: "symbol",
    source: "res-unassigned-tasks",
    layout: {
      'symbol-placement': 'point',
      'symbol-spacing': 1,
      'icon-allow-overlap': true,
      // 'icon-ignore-placement': true,
      'icon-image': 'unassigned_task',
      'icon-size': 0.5,
      'visibility': 'visible',
    },
    paint: {
    },
  },
  {
    'id': 'route-ani-point',
    'source': 'route-ani-point',
    'type': 'circle',
    paint: {
      'circle-color': '#8D5A9E',
      'circle-stroke-color': ['get', 'color'],
      'circle-radius': 8,
      'circle-stroke-width': 2,
    }
  },
  {
    id: "jobs",
    type: "symbol",
    source: "jobs",
    layout: {
      'symbol-placement': 'point',
      'symbol-spacing': 1,
      'icon-allow-overlap': true,
      // 'icon-ignore-placement': true,
      'icon-image': 'job',
      'icon-size': 0.5,
      'visibility': 'visible',
    },
    paint: {
    },
  },
  {
    id: "vehicles-destination",
    type: "symbol",
    source: "vehicles",
    filter: ['==', ['get', 'type'], 'vehicle-end'],
    layout: {
      'symbol-placement': 'point',
      'symbol-spacing': 1,
      'icon-allow-overlap': true,
      // 'icon-ignore-placement': true,
      'icon-image': 'vehicle_end',
      'icon-size': 0.5,
      'visibility': 'visible',
    },
    paint: {
    },
  },
  {
    id: "vehicles-start",
    type: "symbol",
    source: "vehicles",
    filter: ['==', ['get', 'type'], 'vehicle-start'],
    layout: {
      'symbol-placement': 'point',
      'symbol-spacing': 1,
      'icon-allow-overlap': true,
      // 'icon-ignore-placement': true,
      'icon-image': 'vehicle_start',
      'icon-size': 0.5,
      'visibility': 'visible',
    },
    paint: {
    },
  },
  {
    id: "shipments-pickup",
    type: "symbol",
    source: "shipments",
    filter: ['==', ['get', 'type'], 'shipment-pickup'],
    layout: {
      'symbol-placement': 'point',
      'symbol-spacing': 1,
      'icon-allow-overlap': true,
      // 'icon-ignore-placement': true,
      'icon-image': 'shipment_pickup',
      'icon-size': 0.5,
      'visibility': 'visible',
    },
    paint: {
    },
  },
  {
    id: "shipments-delivery",
    type: "symbol",
    source: "shipments",
    filter: ['==', ['get', 'type'], 'shipment-delivery'],
    layout: {
      'symbol-placement': 'point',
      'symbol-spacing': 1,
      'icon-allow-overlap': true,
      // 'icon-ignore-placement': true,
      'icon-image': 'shipment_delivery',
      'icon-size': 0.5,
      'visibility': 'visible',
    },
    paint: {
    },
  },


]

//  map sources
export const SOURCE_TYPES = ['res-routes', 'res-routes-steps', 'jobs', 'vehicles', 'shipments', 'res-unassigned-tasks', 'route-ani-point']

export const DEFAULT_SOURCES_CONFIG = SOURCE_TYPES.map(key => {
  return {
    name: key,
    data: {
      type: "geojson",
      data: {
        type: "FeatureCollection",
        features: [],
      },
    },
  }
})
3. Create a `utils.js` file under `src` folder with the following code for handling location data and calculating the bounding box of locations, which can be helpful when you need to display specific areas on the map or manage geographic data.
    import nextbillion from "@nbai/nbmap-gl";


// converts location string to [lng,lat] array

export function getLocations(locationString) {
    if (!locationString) {
      return [];
    }

    if (typeof locationString === "string") {
      return locationString.split("|").map((location) => {
        const [lat, lng] = location.split(",");

        return [parseFloat(lng), parseFloat(lat)];
      });
    } else {
      return locationString.map((location) => {
        const [lat, lng] = location.split(",");
        return [parseFloat(lng), parseFloat(lat)];
      });
    }
  }


//   this function calculates the bounding box (rectangle) that encapsulates all the provided sources' coordinates.

  export function getBounds(sources) {
    const bounds = new nextbillion.maps.LngLatBounds()
    sources.forEach((source) => {
      if (source.data && source.data.type === 'FeatureCollection') {
        source.data.features.forEach((feature) => {
          feature.geometry.coordinates.forEach((coordinate) => {
            bounds.extend(coordinate)
          })
        })
      }
    })
    return bounds
  }
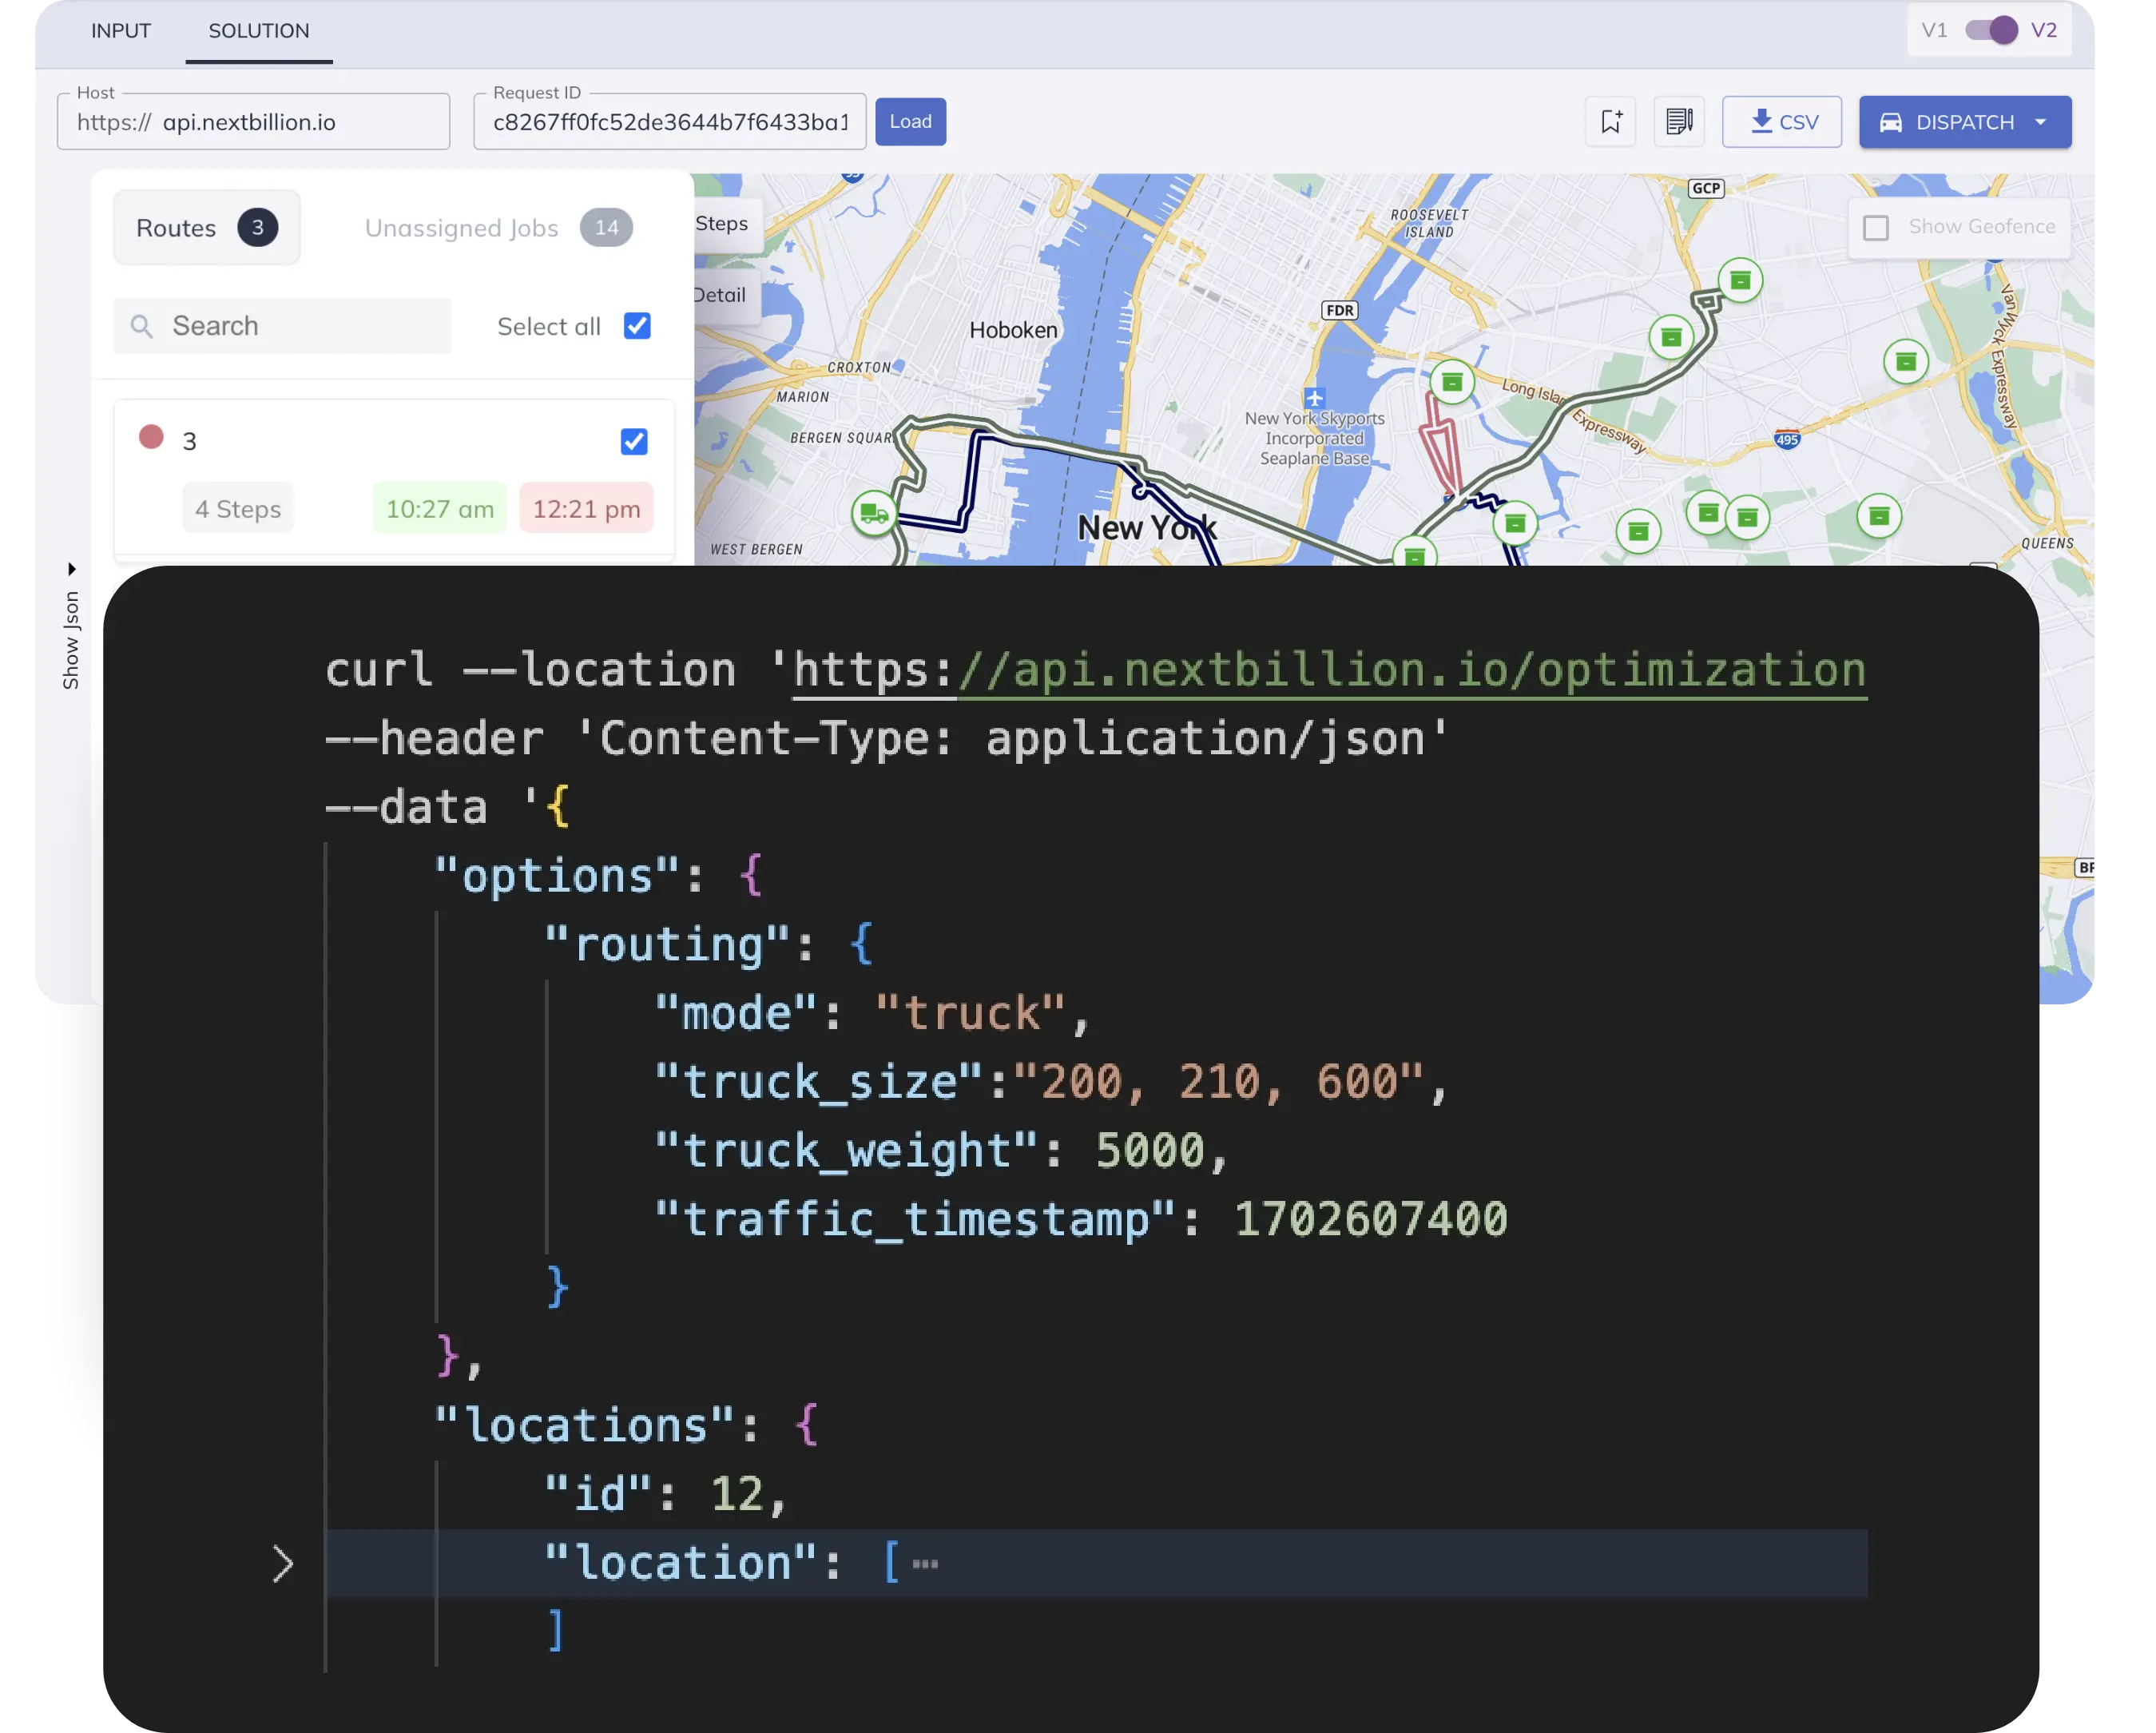
The output will look something like this:

Want to preview NextBillion.ai Route Optimization for your business? – Try NextBillion.ai’s Route Optimization Free Tool
Integrating the NextBillion.ai Route Optimization API into a ReactJS application offers businesses a powerful tool to optimize routes and generate efficient schedules. By following the step-by-step instructions provided above, developers can seamlessly integrate the API, configure API endpoints and authentication and make API calls to optimize routes based on service requests.
Leveraging the optimized solution, businesses can improve operational efficiency, reduce costs, and provide timely and accurate services. By combining the strengths of ReactJS and the NextBillion.ai Route Optimization API, businesses can unlock substantial benefits and gain a competitive edge in their field service operations.
Ready to get started?
Request a DemoTable of Contents
Subscribe to our Newsletters
Get the best practices for route planning & optimization, delivered to your inbox.
Subscribe